Step by Step Instructions
This Google Tag Manager container setup instructions works with DeshiCommerce Merchant Stores. Once you have completed all the steps, your Google Analytics 4 account will automatically receive e-commerce events such as purchase, add to cart etc.
Step 1: Sign in/Sign up with Google Analytics
If you don’t have a Google Analytics account or property, then go to Admin and click on the Create button and complete the steps to create a new Google Analytics Account or Property.

If you already have a Google Analytics account or property, then go to Admin>Data Collection and Modification>Data Streams and click on the Data Stream name.
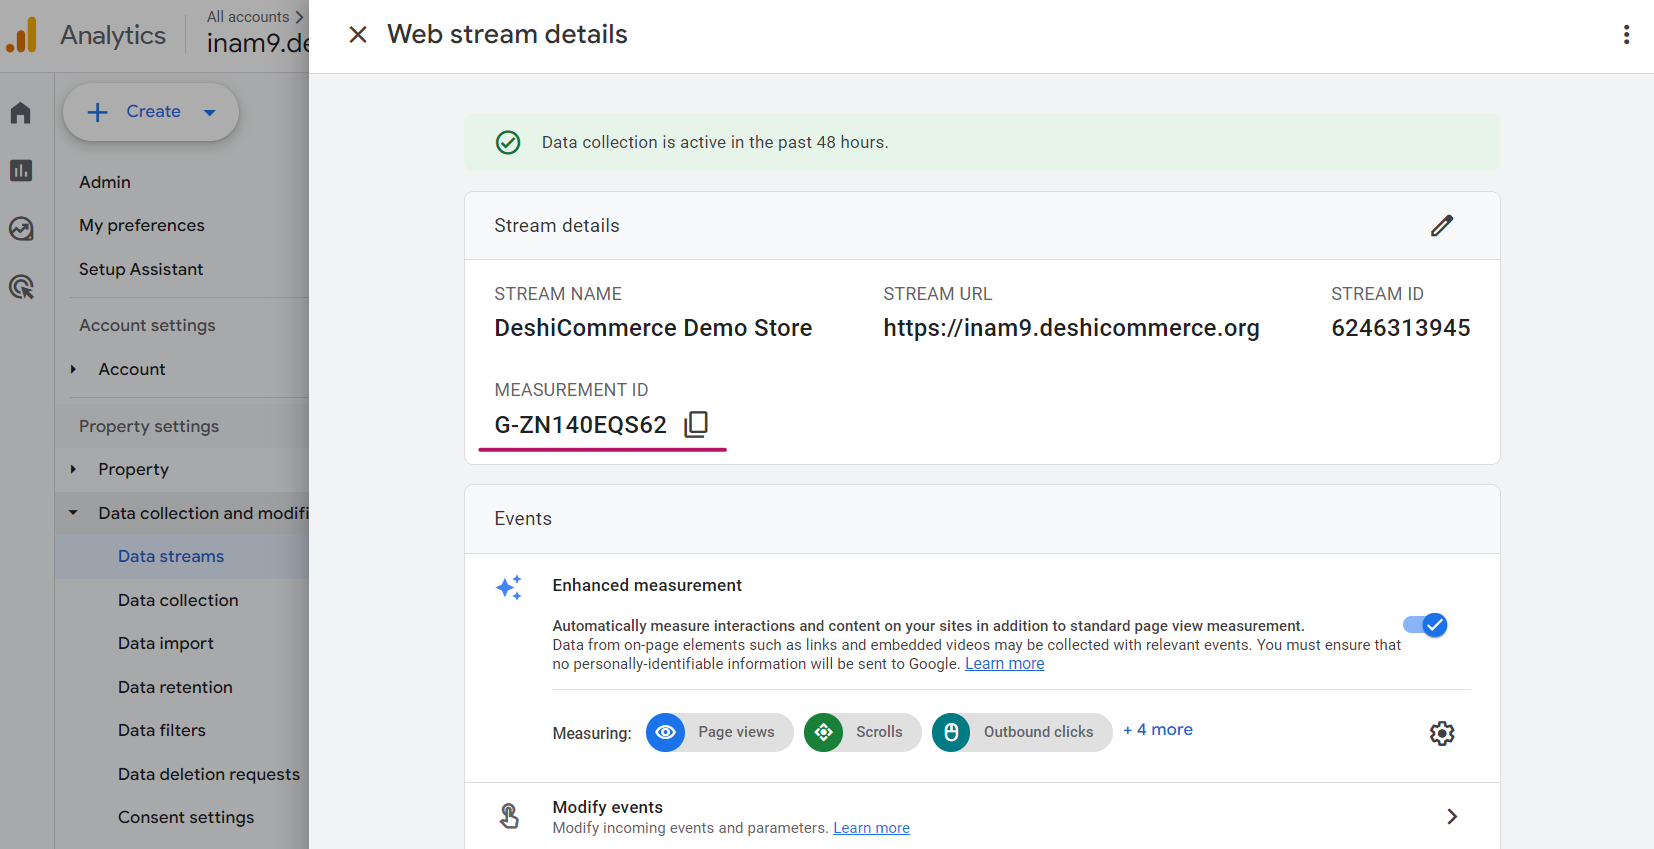
Copy the Measurement ID and save it in a note. You will need it for an upcoming step.
Step 2: Download the Pre-Configured Google Tag Manager Container File
Download the DeshiCommerce merchant store preconfigured Google Tag Manager Container file and Unzip it.
Step 3: Sign in/Sign up with Google Tag Manager
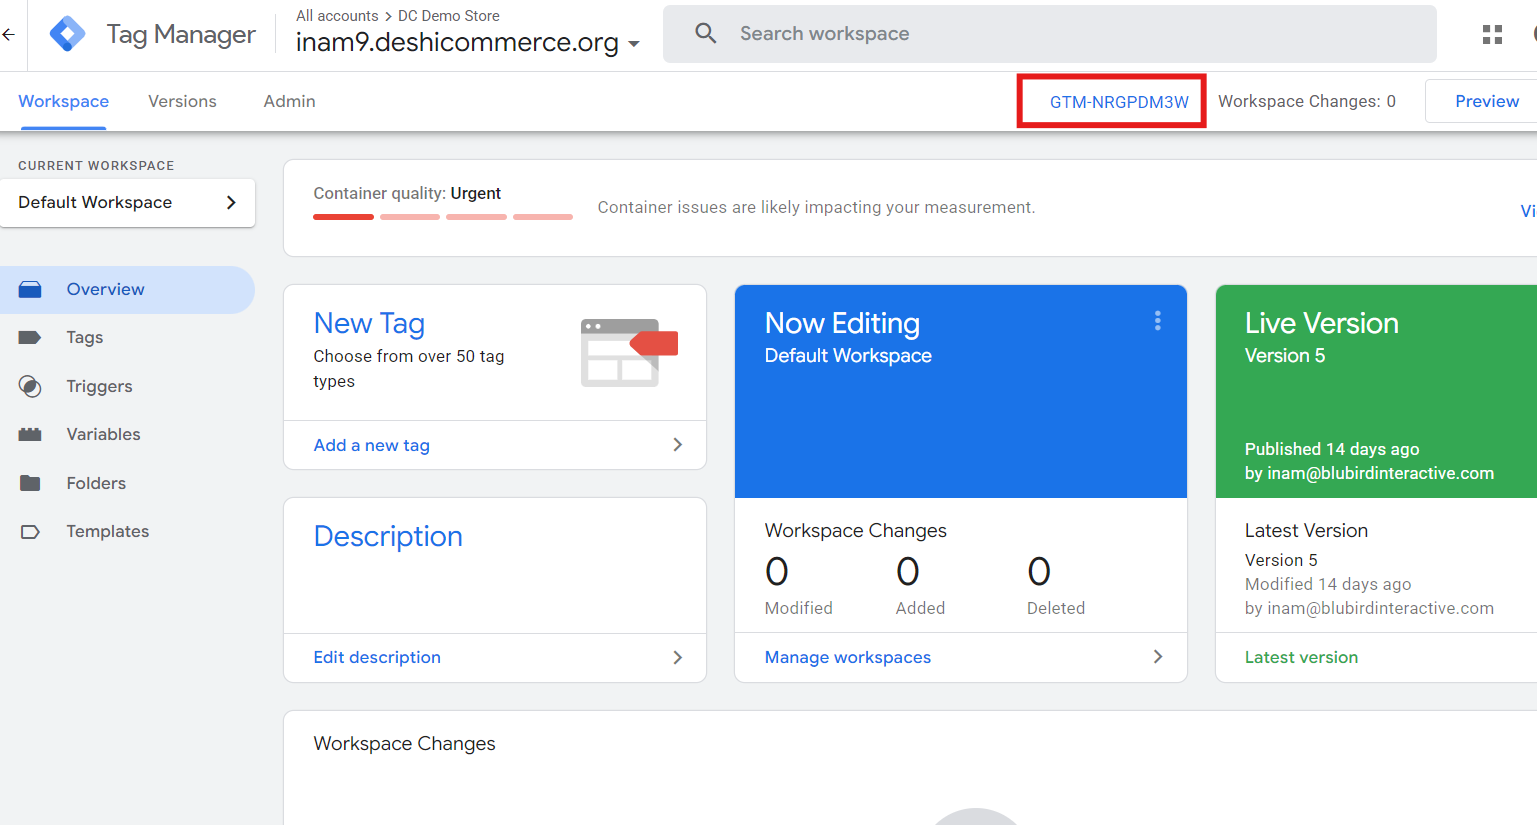
Sign in or if you don’t have an existing account then Create a new Google Tag Manager account. Copy the container ID.
Step 4: Add the container ID in your DeshiCommece merchant pannel
Log in to your DeshiCommerce merchant pannel and go to Online Store> Preferences
Click Edit and Paste the container ID under Google Tag Manager and save.

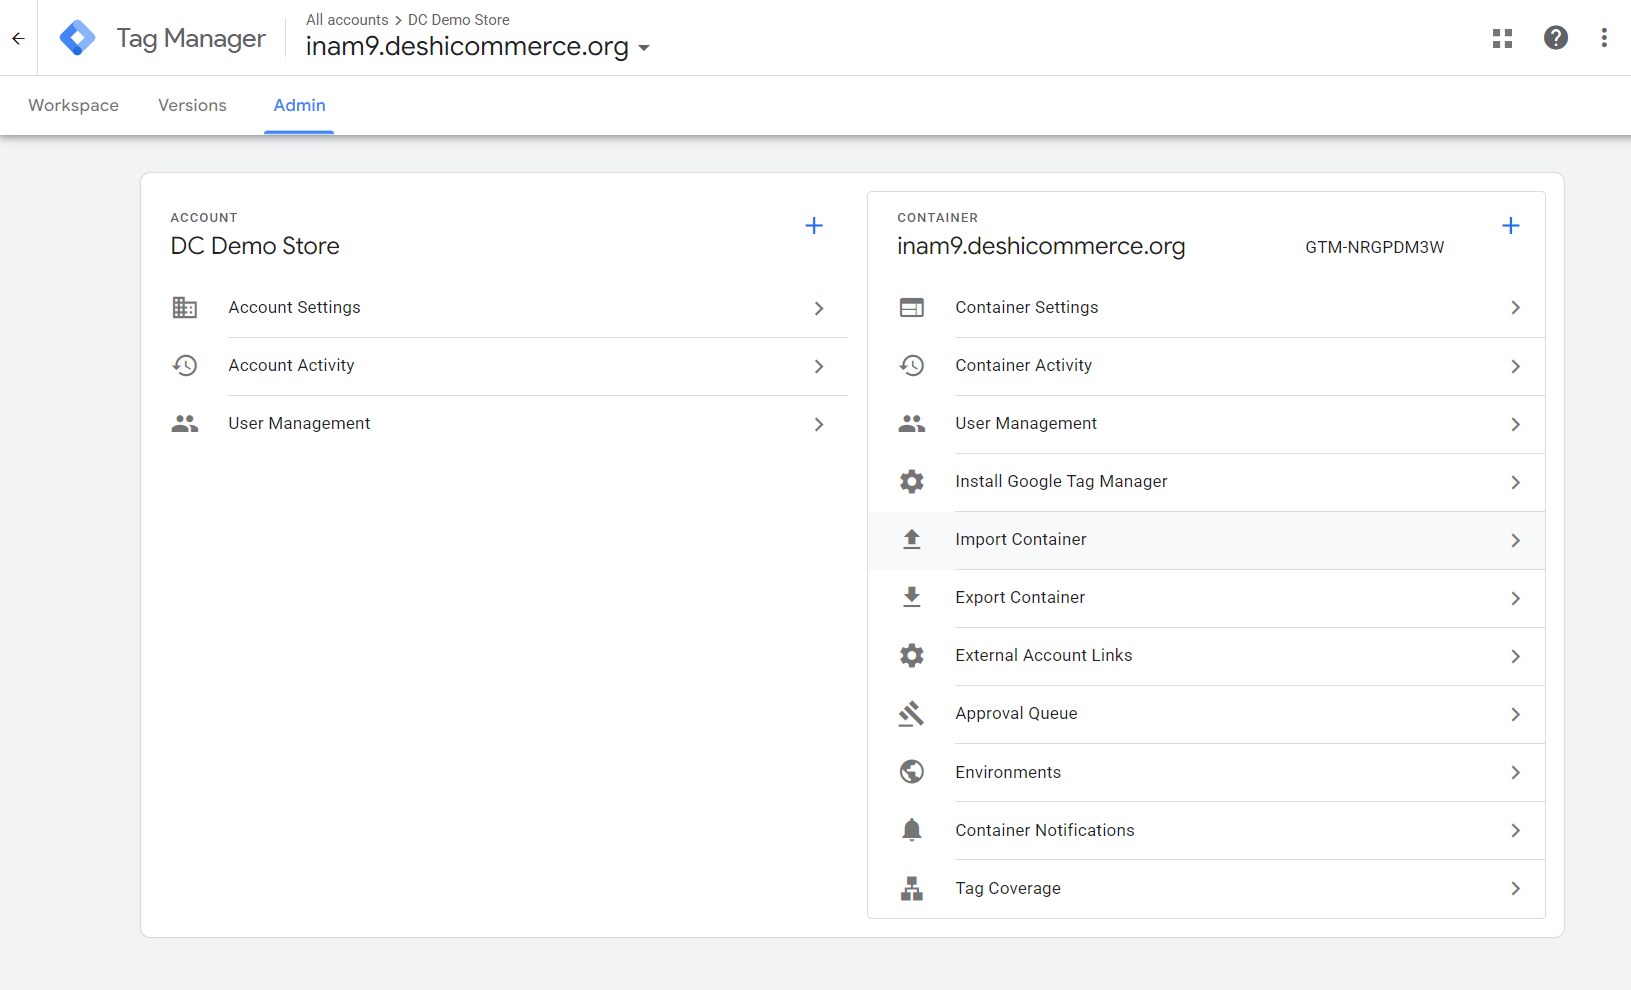
Step 5: Go back to the Google Tag Manager Admin tab and click on the import container
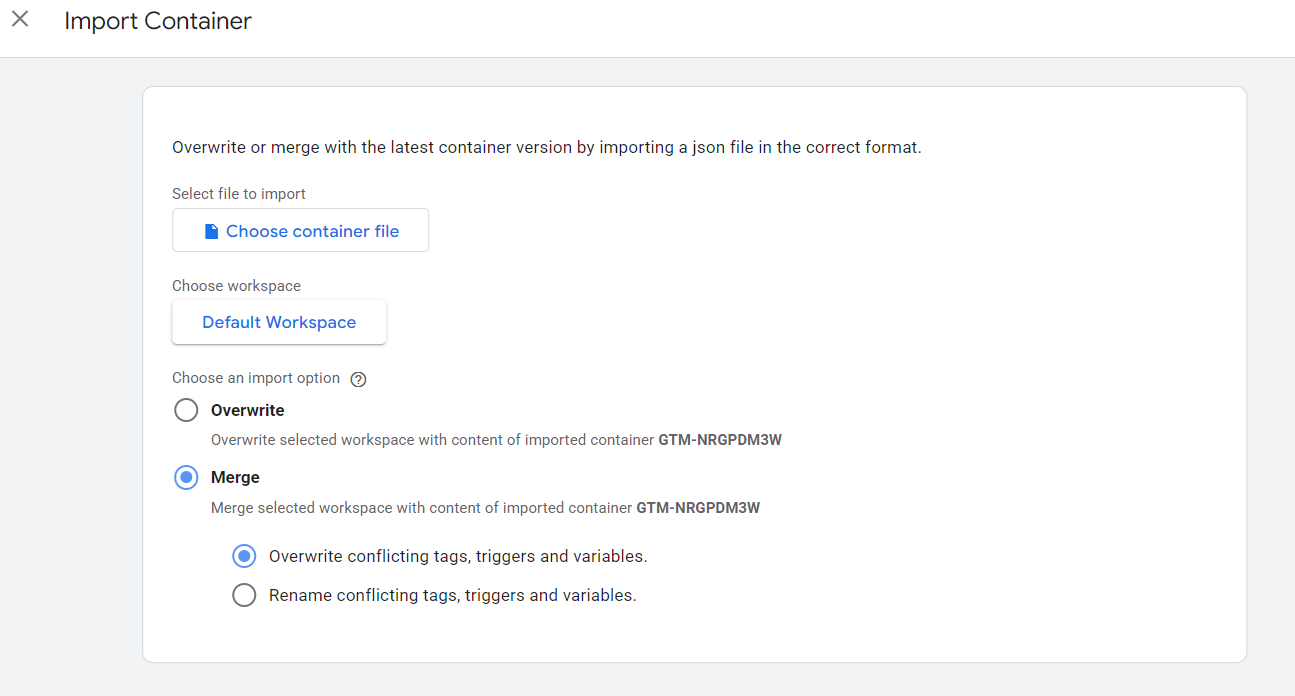
Step 6: Import the container
In most cases, we suggest selecting ‘Merge’ and ‘overwrite conflicting tags, triggers and variables’ when you import the container. If in doubt, then we recommend creating a demo GTM container for testing so that you don’t accidentally modify anything.
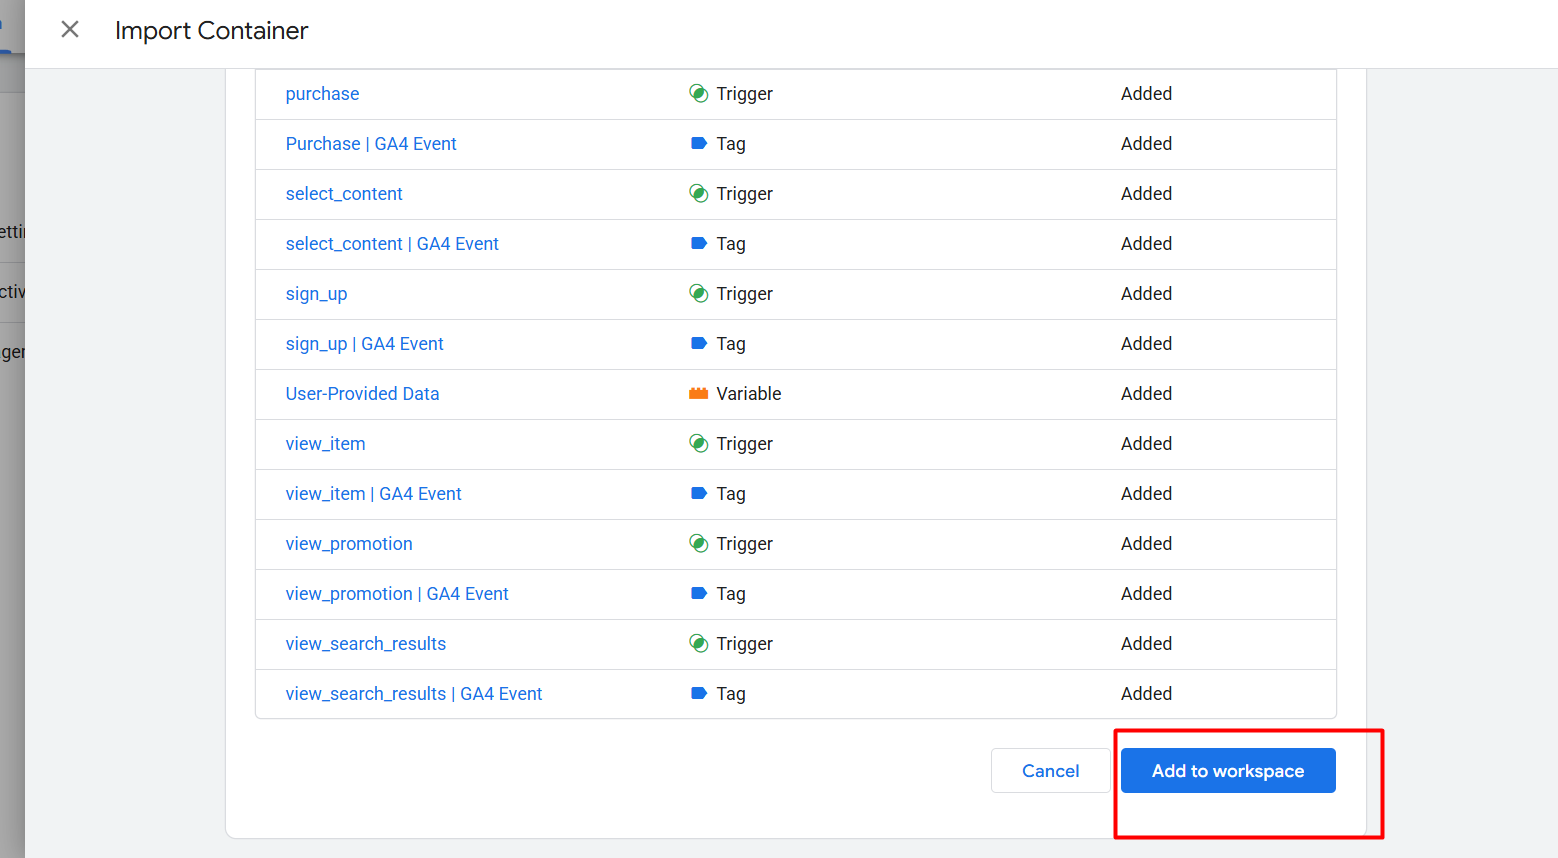
After importing click on the Add to workspace button.
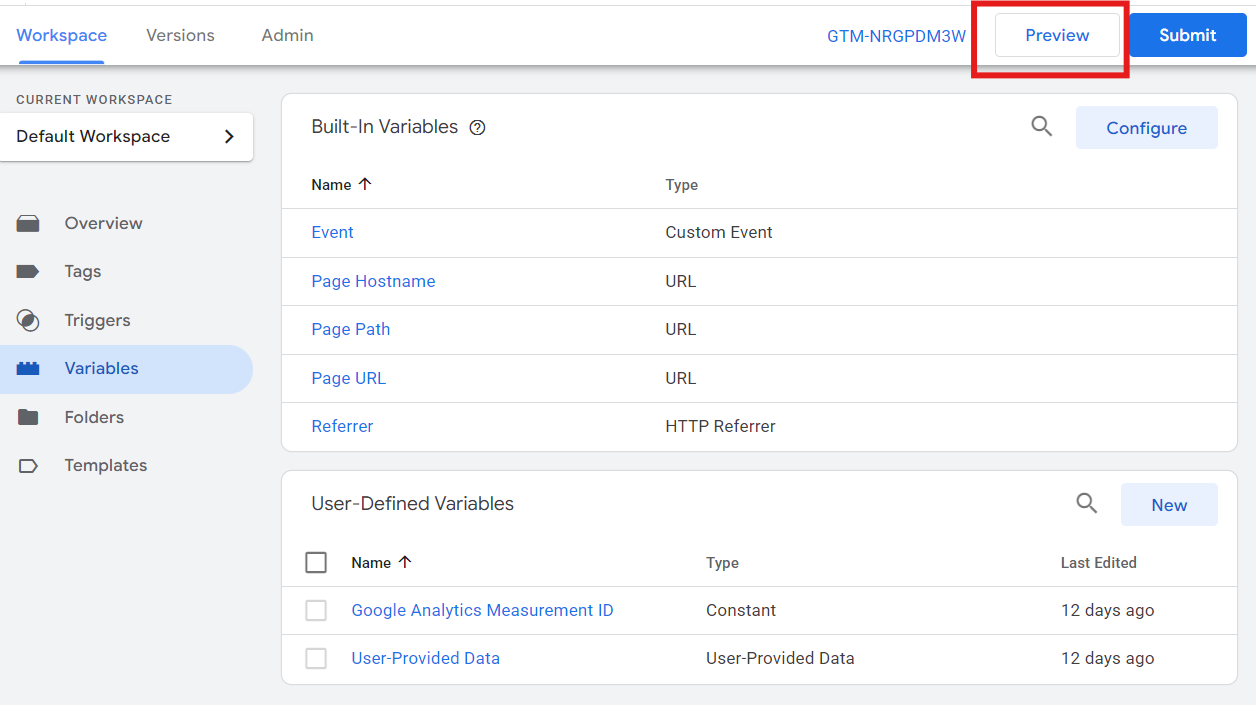
Step 7: Edit the variable named ‘Google Analytics Measurement ID’
Go to the Variables menu under Workspace Tab.
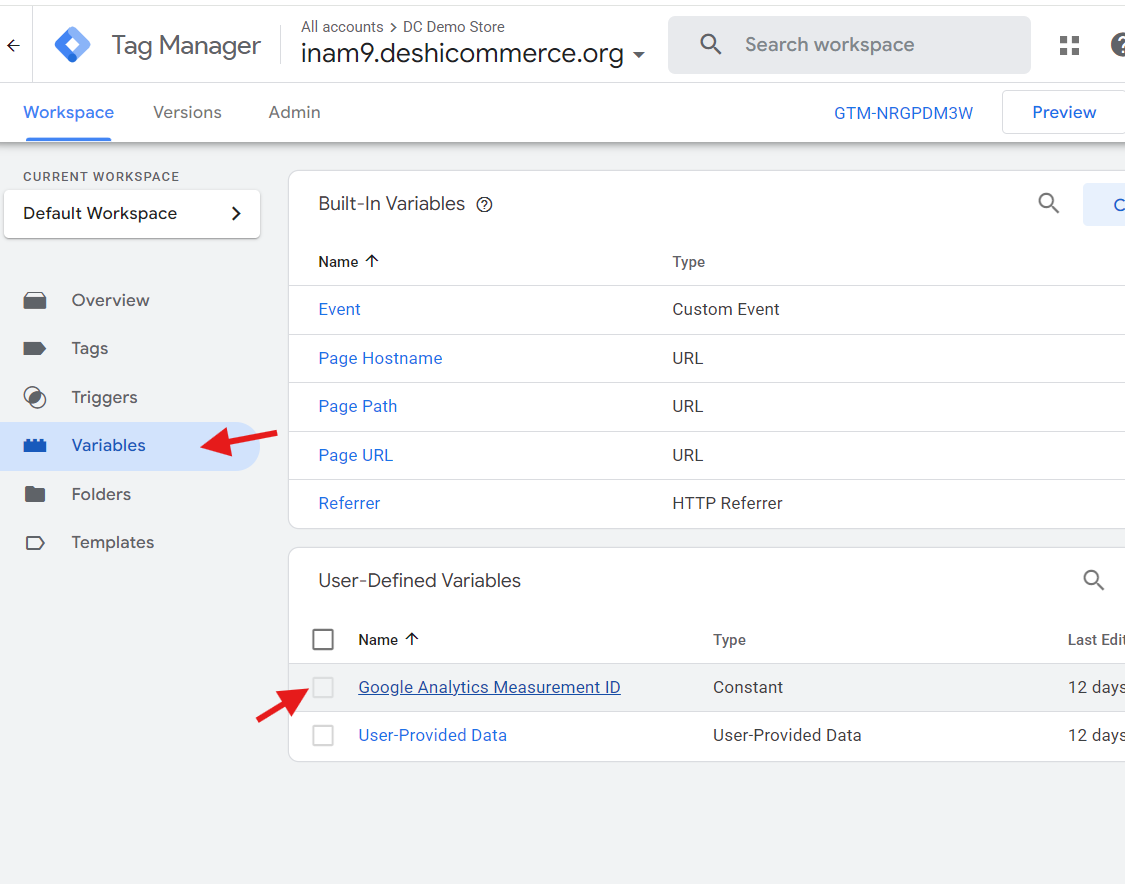
This variable’s’ Value’ is the measurement ID from your Google Analytics 4 property we have saved previously. Copy and paste the measurement ID from your note.
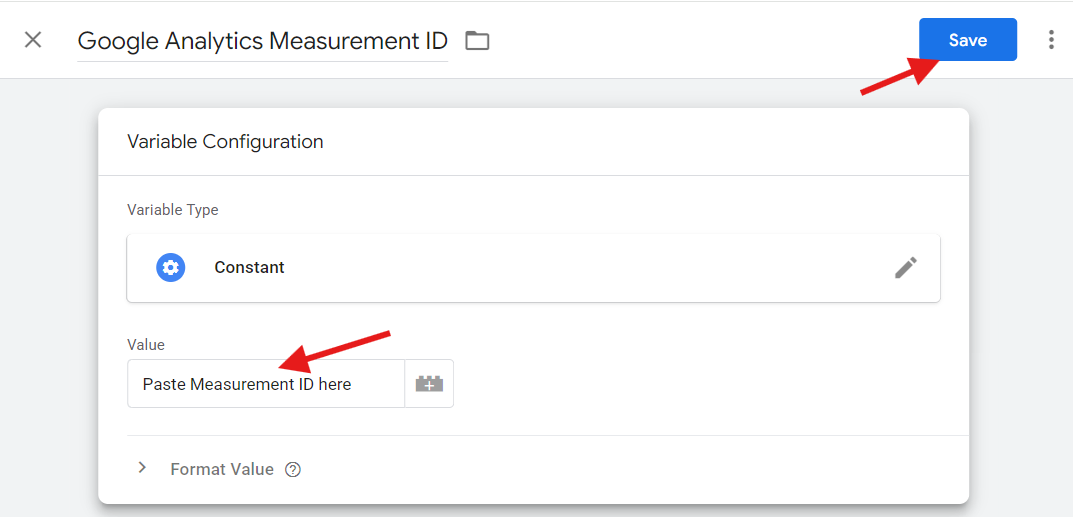
Click on the Save button to save the variable
Once you’ve saved the variable, we recommend testing the changes to ensure everything works correctly.
Step 8: Preview the container to test
Once you’ve saved the variable, we recommend testing the changes to ensure everything works correctly.
Step 9: Publish the container
Click on the top right “Submit” button, Publish and Create a new version of your container.

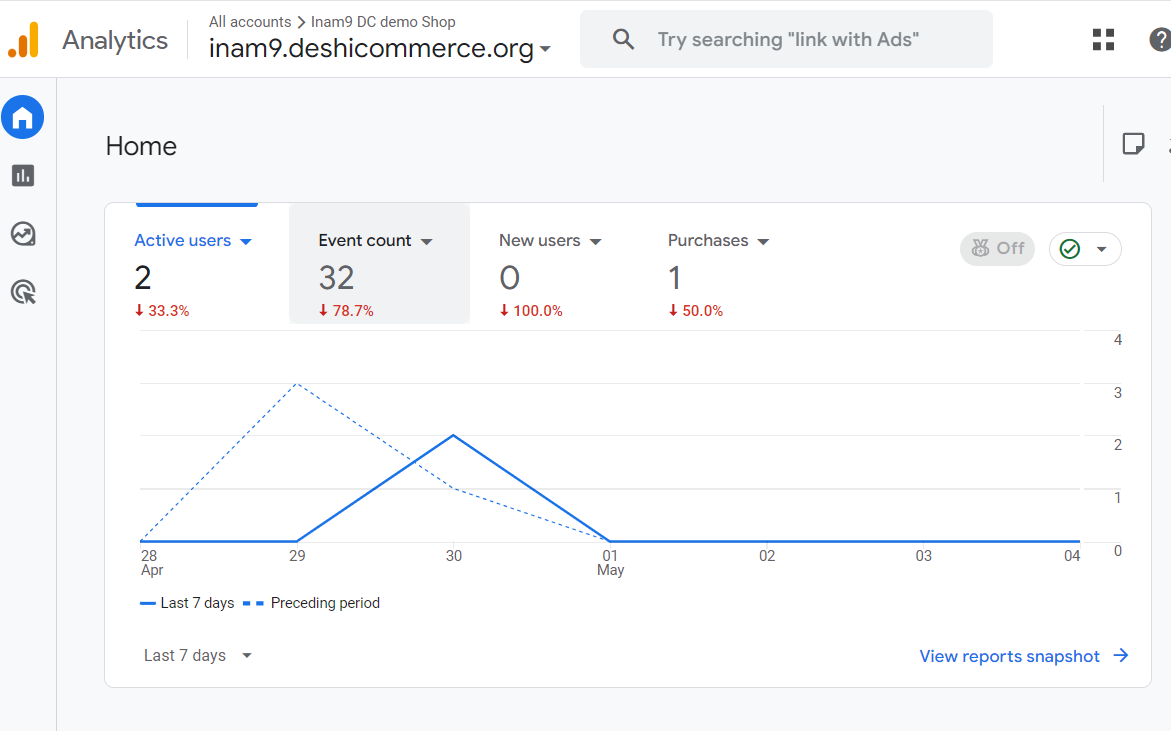
After successfully importing and publishing the container, please wait 48 hours to receive e-commerce events in your Google Analytics.